For over two decades Active Motif has been a pioneer in the development of kits and assays to study gene regulation and protein function. They were the first company to develop a ChIP kit, well over a decade ago now, and they have been improving and innovating ever since. Active Motif now offers an extensive portfolio of ChIP kits, accessory products, and ChIP services to enable generating the highest quality ChIP results as easily and quickly as possible.
A short history of ChIP assays
The ChIP assay has been around for a while now. The experimental approach that would lead to what we know as ChIP today was been first described in the 1980s in the laboratory of John Lis at Cornell University. The first ChIP experiments investigated the genomic localization of RNA polymerase II, initially in bacterial cells and later in Drosophila cells. These early experiments were analyzed by hybridization-based assays.

Chromatin immunoprecipitation assays have come a long way since then. The assay has developed into a well-known technique that is performed in many labs in many organisms and sample types, leading to many publications and great discoveries. The downstream analyses of ChIP assays have evolved from endpoint PCR, to quantitative PCR (qPCR), and more recently to next-generation sequencing.
Five critical steps in every ChIP experiment
In every ChIP experiment, there are five crucial aspects that need to be considered, which we’ve listed below.
- First, and most obviously, you need a starting material on which to perform ChIP assays. You can use either cells or tissues, and varying amounts of each.
- Next, the cells are generally fixed to crosslink the proteins to the DNA. Most protocols use formaldehyde, but there are several different variations to fixation conditions and additives.
- The next step in the protocol is chromatin fragmentation, which is usually performed via sonication.
- Then there is the actual immunoprecipitation (IP) step. The antibody used is critical, as is the decision on whether to use magnetic or agarose beads.
- Finally, there is the downstream analysis, which is usually either qPCR or next-generation sequencing.

How many cells are needed for ChIP assays?
The first thing to consider when starting to plan your ChIP assay is the starting material. What sample type should be used, and how many cells (or how much tissue) should be used?
Historically, people have used millions of cells for each ChIP experiment. That requirement of high numbers of cells was previously one of the main hurdles to getting good ChIP and ChIP-Seq results, especially with certain sample types like primary cells and stem cells where it is sometimes difficult to obtain enough cells.
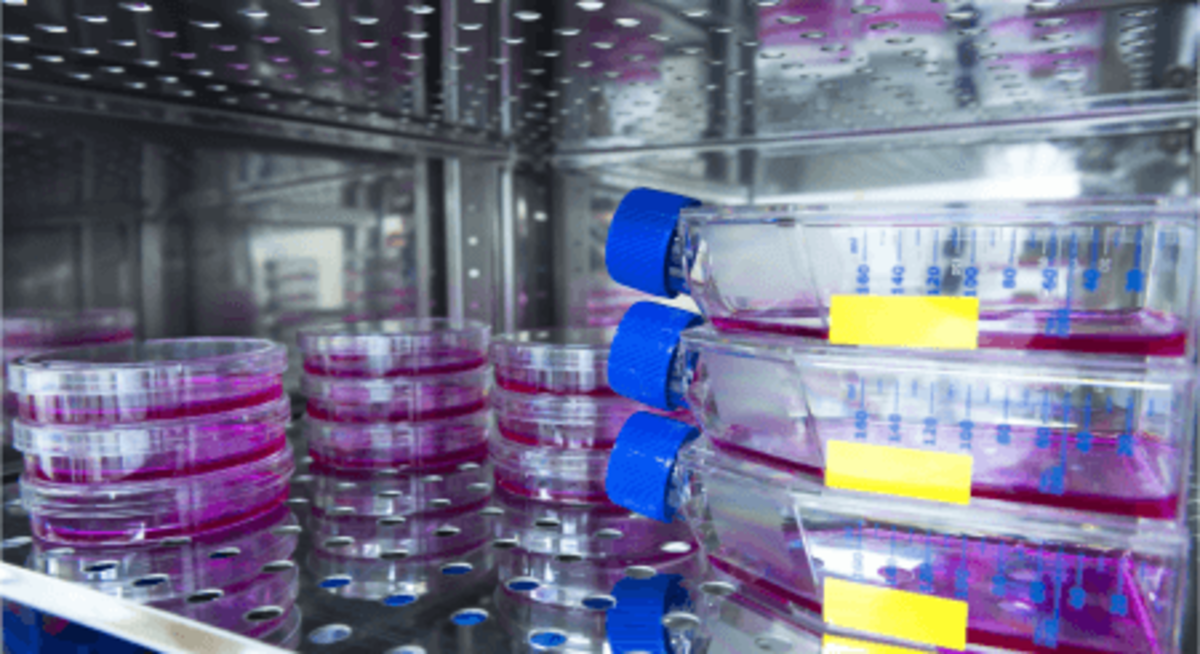
Can You Perform ChIP With Low Cell Numbers?
More recently the number of cells required to perform ChIP has come down quite a bit with the development of ChIP-Seq kits designed specifically for low cell numbers. These kits have started allowing researchers to use fewer cells, thousands instead of millions, and there are new technologies coming out every day to bring that cell number down even further.
How to properly fix & prepare your sample for ChIP
Many different sample types can be used in ChIP reactions, and an important part of all ChIP protocols is how you actually process the cells. In most ChIP experiments, fixation is performed to crosslink the DNA to the associated proteins, and different cells and tissue types require different fixation protocols. The important aspects to consider are the type of fixative used and the length of time the fixation occurs before stopping that reaction.
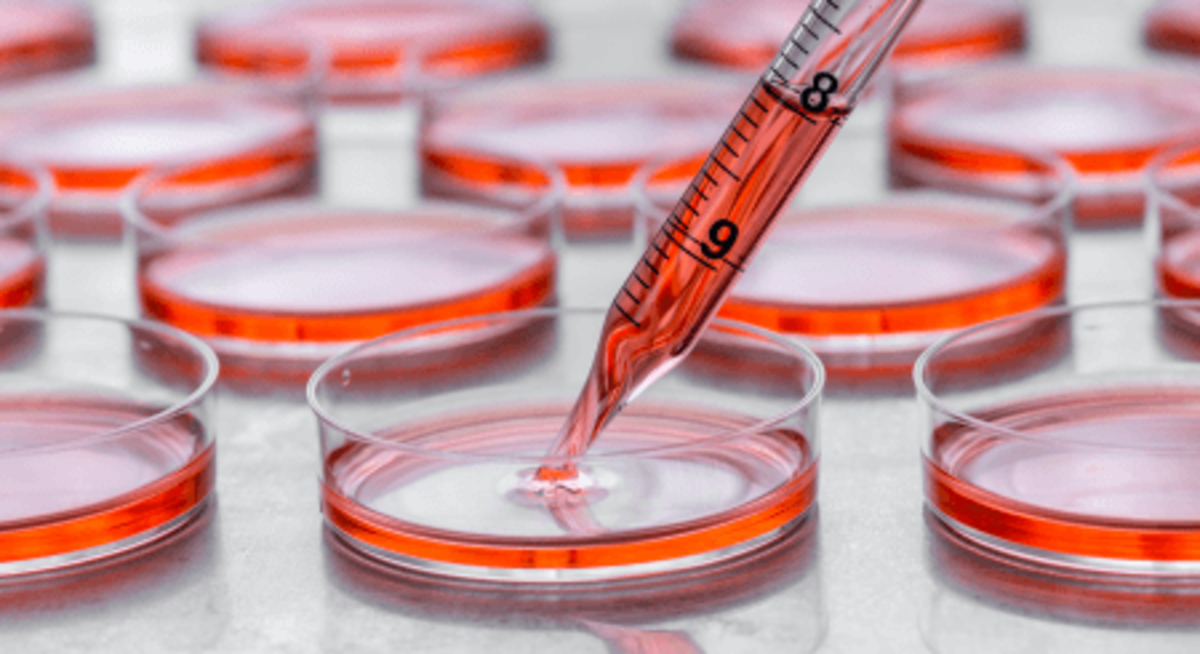
Formaldehyde is the Gold Standard for ChIP Fixation
The standard fixation material is usually formaldehyde. Typically, the formaldehyde you see in a regular lab is at 37 percent formaldehyde by volume and is stabilized with methanol. However, one of the problems with having methanol in your formaldehyde is that it can lead to increased cell permeability, which leads to more formaldehyde getting into your cells than if you were to use formaldehyde with no methanol, ultimately resulting in over-fixation of the chromatin. On the other hand, without methanol, the formaldehyde is not very stable and can polymerize, making it not as effective.
There are several other fixatives that work well in certain experiments, but formaldehyde is the most commonly used because it can covalently link two molecules together that are in very close in proximity with each other. However, if you don't want that, there are other fixatives like DSG that can be used to crosslink two molecules that are further apart in distance. These are all things that need to be taken into account when designing your ChIP experiment, but formaldehyde is a pretty good starting point for fixation in most cases, and most publications use protocols that rely on formaldehyde to fix the cells.
How Long Should Cells Be Fixed for ChIP?
The next consideration after selecting a fixation method is how long the cells should be fixed. Most protocols specify 10 to 15 minutes of fixation using formaldehyde at a final concentration of one percent. These fixation conditions work well for many sample types, but optimization may be required in some cases.
If you are working with larger pieces of tissue where not all of the cells are exposed to the liquid they're suspended in, then sometimes additional fixation time is needed to get the formaldehyde into those cells.
There are also protocols where you don't want formaldehyde in your assay, which are referred to as native ChIP. In native ChIP assays, you don’t want the DNA to be covalently bound to your proteins of interest. The native ChIP method generally only works well for proteins that are very tightly bound to the DNA such as histones.
How to sonicate and solubilize chromatin
After the cells are fixed, they must be lysed and sonicated to generate the soluble chromatin that will be used in the immunoprecipitation reactions. You generally want the chromatin fragments to be between 200 and 1,000 base pairs, and there are several considerations to achieve successful fragmentation.

Accessing the Fixed Chromatin in the Nucleus
Following fixation, you need to get into the nucleus to get to the chromatin. And not only do you need to get to the chromatin, but you need to break up the chromatin so that you have fragment sizes that are small enough to be efficiently pulled down with an antibody.
Although it isn’t an absolutely required step, many of the top chromatin biology labs start by isolating the nucleus before attempting to fragment the chromatin. There are quick nuclear isolation protocols that can be performed after fixation of the cells. After nuclei are isolated, they can be resuspended in a more stringent lysis buffer, which will open up your nuclei and give you access to the chromatin inside.
Fragmenting the Chromatin – Which Method is Best?
Once you have accessed the chromatin, you need to fragment the DNA into lots of little pieces. There are a couple of different ways of doing this, but the preferred method is sonication. After you resuspend your nuclei in some kind of a lysis buffer, usually containing SDS, you subject your cells to ultrasonic sound. There are lots of different instruments out there that do this. Essentially the idea is that you're breaking up all of those DNA pieces into fragments that are 200 base pairs to 1000 base pairs in length.
You want to make sure that it's not too big, but also that it's not too small. As you can imagine, since you are sonicating cells, you're subjecting the DNA and proteins in the fixed chromatin to relatively harsh ultrasonic sound. If samples are sonicated for too long, you may start to break up proteins and DNA beyond recognition by an antibody. The heat created during sonication can also denature proteins so much that the relevant epitopes are no longer recognized by the antibodies being used.
Optimize Sonication Conditions for Best ChIP Results
Just like the other steps in the ChIP workflow, there’s not a single sonication condition that will work best for every sample type. The optimal sonication conditions are really cell type and tissue-specific, so they need to be optimized with your sample type.
When we’re doing ChIP assays here at Active Motif, we do have starting point sonication conditions that work for most sample types. However, there are lots of different cells that require additional sonication. For example, T cells tend to be very difficult to sonicate. This is probably because they're built to be sturdy since they're floating around in your bloodstream and they're subjected to a lot of different physical stresses. T cells are very small, tight cells that are difficult to open up, so different lysis and sonication conditions are required to achieve the best results.
Using Enzymatic Methods to Fragment Chromatin
While most researchers prefer to use sonication to fragment DNA because it is pretty efficient and results in truly random fragmentation, there are some potential drawbacks that must be considered. One of the limitations of sonication is that it can potentially damage proteins or disrupt protein-DNA interactions if it’s too harsh.
Researchers that want to be a little bit gentler with their chromatin samples but still want to fragment the chromatin to a reasonable size use enzymatic shearing. The most popular enzymatic shearing method involves using micrococcal nuclease (referred to as MNase). MNase is an enzyme that cuts at AT-rich sequences, and it can be used over a time course to generate the size of chromatin fragments that you want.
If you treat with MNase for a long period of time, you're going to get very small fragments, down to around the size of a histone or nucleosome which is about 146 base pairs. However, just a very brief treatment can give you multiple sizes all the way up to the 1,000 base pair fragments that are recommended for ChIP.
The main limitation that keeps most scientists from using MNase to fragment their chromatin is that the enzymatic cleavage notoriously introduces bias because the enzyme prefers to cut at certain DNA sequences more than others.
What’s the best type of antibody to use in ChIP assays?
Once you have isolated your chromatin and it has been sonicated to the perfect size, it’s time to proceed to the immunoprecipitation. No matter how perfect the sample prep and sonication steps are, the ChIP results won’t be any good unless the right antibody is used. There are several types of antibody available for use in ChIP assays, including polyclonal, monoclonal, and recombinant antibodies. We discuss the benefits of each type below to help you decide which ones are the best to use in your experiments.
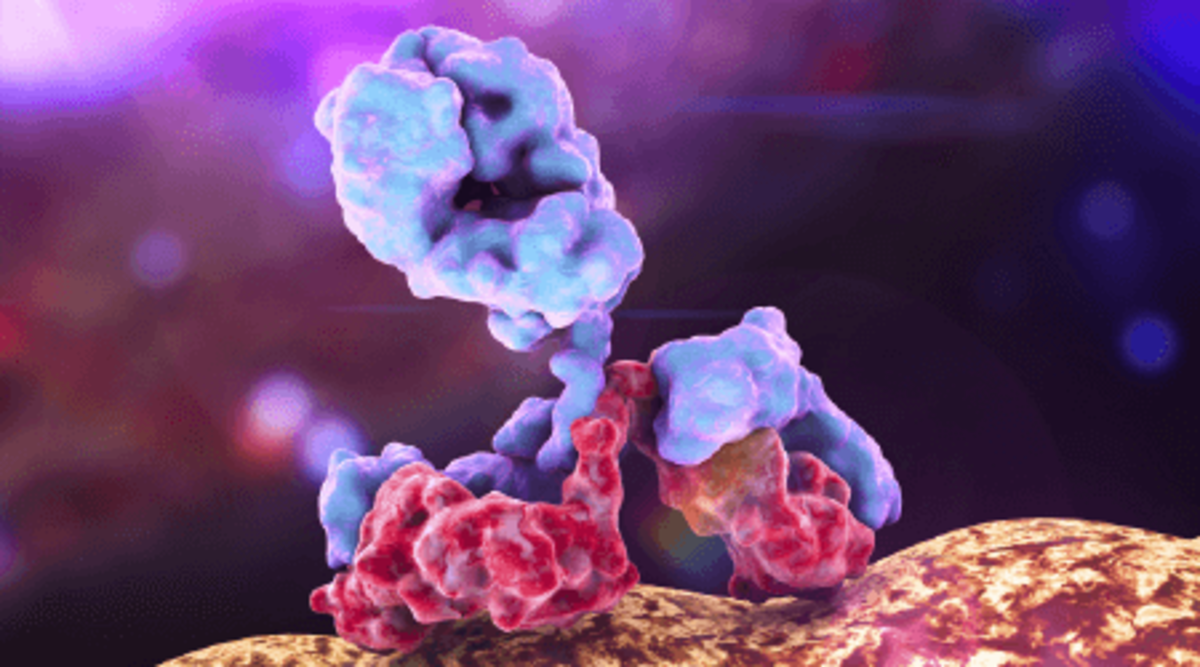
The best antibodies to use for ChIP has always been a debate in the field. Are polyclonals better than monoclonals? Well, it all depends on the details. And a new layer to the debate is recombinant antibodies. Companies like Active Motif are producing antibodies as recombinant proteins now, which tend to be even more uniform in their antibody population than traditional monoclonal antibodies.
The short answer is it's very difficult to say that one type of antibody is better than the others in all cases. When it comes to ChIP antibodies, specificity matters more than antibody type.
The most important things to evaluate when selecting an antibody for ChIP are whether it recognizes your protein of interest with high specificity under fixation conditions and whether it’s able to maintain binding through the IP and the wash steps.
In the early days of ChIP, many researchers preferred using polyclonal antibodies because you can amplify the signal without compromising specificity by using a monoclonal antibody that’s specific for the primary antibody isotype.
However, now that there are so many different antibodies available for most target proteins, and so many have been tested and validated for ChIP, it's really clear that polyclonals, monoclonals, and recombinant antibodies can all perform well in ChIP assays.
What if There Isn’t a ChIP-Validated Antibody for My Target Protein?
As mentioned previously, one of the most important steps in doing a successful ChIP experiment is finding a great antibody for your protein of interest. That can be a really big challenge for some researchers. While many of the most commonly-studied DNA-binding proteins and histone modifications have multiple antibodies available to choose from, that’s not always the case.
Even if an antibody has been validated to work in a western blot or other assays, that doesn't necessarily mean that it's going to work by ChIP. The best way to find a good antibody to use in your ChIP experiments is to search the literature. The first and most obvious way to search is to try to find high profile papers from respected researchers that performed ChIP assays for the same target protein or histone modification.
However, if that does not work and you can’t find an antibody published to work well in ChIP, the next best thing would be to look for an antibody that has been used in a publication on crosslinked material (similar to ChIP conditions). Specifically, immunofluorescence (IF) and immunohistochemistry (IHC) are performed under fixation, so antibodies that work in those assays are likely to work in ChIP assays. It is important to emphasize though that this is not always the case. Although the antibody may recognize the protein epitope after fixation in IF or IHC, other conditions in the ChIP assay might prevent the antibody from performing well.
For example, the buffer conditions used in ChIP to solubilize and fragment the chromatin often contain SDS, a relatively harsh anionic detergent. High concentrations of SDS can interfere with antibody-protein binding, so even if the antibody is technically able to bind the protein it might be prevented from doing so tightly enough to immunoprecipitate the protein-DNA complex required to successfully perform ChIP.
How Do You Know if the Antibody Used in Your ChIP Experiment Worked?
To ensure that you can trust the results of your ChIP reactions, it is extremely important that proper controls are performed. The best approach is to perform qPCR reactions specific for genomic regions where the factor or histone modification is known to be present (positive control) and where it’s known to be absent (negative control).
Some researchers like performing a ChIP reaction with an unrelated normal IgG antibody as a negative control. The thinking is that any signal seen with this antibody would be background because it is not specific for the factor or histone modification being studied. While this approach is better than no control at all, it isn’t great because the specific antibody being used in the ChIP likely has different background reactivity than the normal IgG, so it isn’t really a fair comparison.
What Beads Are Best for Immunoprecipitations?
After the immunoprecipitation is performed, the protein-chromatin complexes targeted with your antibody are usually isolated by incubating with a bead conjugated to either protein A or protein G. There are different types of beads available that you can use, and the “best bead for ChIP” is a polarizing debate in the field.
Many researchers prefer using magnetic beads. Magnetic beads have several benefits: they make the washing steps very fast and easy and they are compatible with automation if you have a robot with a magnetic mechanism. Another advantage with magnetic beads is that you can see them being pulled to the side of the tube next to the magnet so you can avoid removing the immunoprecipitated sample when you aspirate the wash buffers.
An alternative to magnetic beads is agarose beads, which have their own advantages. Most notably, agarose beads very low background and high sensitivity. One problem researchers experienced with agarose beads in the past is that it was difficult and time-consuming to perform washes with centrifugation at each step. Active Motif solved this problem by using protein G agarose beads in an easy to use column format. You can do all of your washes rapidly and easily on a column. You just add your wash buffer to the column and it flows through, you don’t have to spin down your beads for each wash, so you can perform many ChIP reactions, side by side, using this method.
What’s the best way to analyze ChIP results
The final step in any ChIP reaction is the analysis of the DNA that was immunoprecipitated. After reversing the crosslinking, digesting the associated proteins, and purifying DNA, researchers usually investigate the DNA sequences they have isolated by either PCR or next-generation sequencing (NGS). Analysis using qPCR is a good option if you already know which loci you’re interested in and there are not very many regions being investigated. On the other hand, NGS works well if you want to take an unbiased approach and identify all the sites across the genome where your factor or histone modification is present.
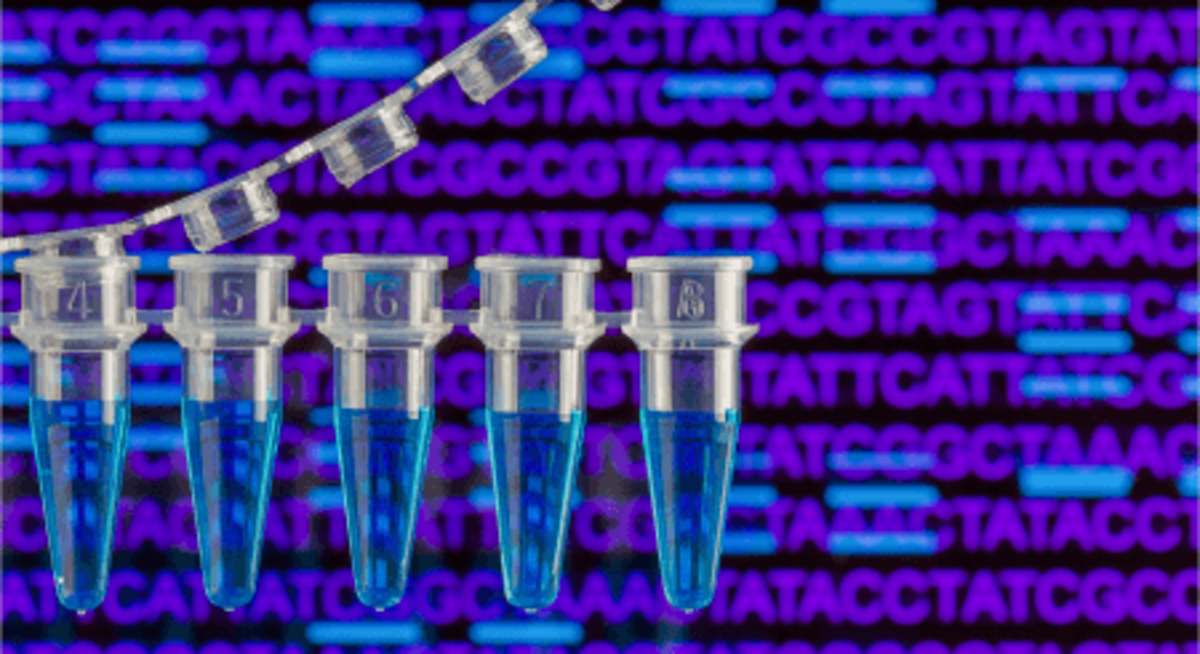
qPCR is an early method of analyzing the regions bound by the factor being investigated in ChIP and is still used by many researchers. The main limitation is that you need to know where you want to look in advance and need to design primers to specifically amplify that region. qPCR-based analysis works well if you are investigating differences in the binding to known binding sites under different experimental conditions but is generally not an appropriate analysis method for experiments where the goal is to identify new binding sites for the factor being studied.
NGS-based analyses provide significantly more information for each ChIP experiment, but the downside of ChIP-Seq assays is that they require more processing to generate NGS libraries as well as bioinformatics to interpret the results, which many researchers find intimidating. Next-generation sequencing is also more expensive than the qPCR-based analysis, but the cost of NGS is coming down really quickly, so the field is moving more and more to NGS-based analysis for ChIP due to the huge increase in the amount of data generated relative to qPCR, and many high-profile journals are starting to require ChIP-Seq in publications.
While bioinformatics is becoming easier due to open source analysis platforms that are relatively easy to use, most ChIP-Seq projects involve dedicated bioinformatics scientists to perform the analysis and to generate the output figures to help analyze and visualize the data.
Conclusion: ChIP assay challenges can be overcome!
ChIP assays have many different steps, all of which are critical to the overall success of the experiment. However, with good planning, selecting the right ChIP kit, using ChIP-validated antibodies, and doing some optimization, the multiple challenges of ChIP assays can be overcome.
And for those researchers that need the highest quality ChIP or ChIP-Seq data as quickly as possible, we recommend using end-to-end ChIP-Seq services. With these services, you simply send your cells or tissue to Active Motif, and you’ll receive the analyzed data back in a matter of weeks.
This article is republished from Active Motif's Blog page

